Snake Plant Repotting Easiest Step
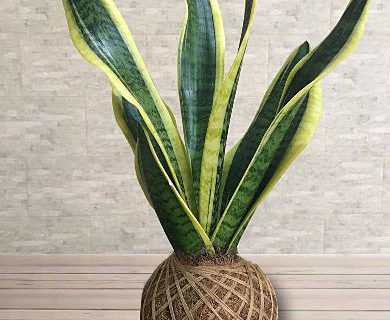
Snake plant have a unique upright growth of its spear-like leaves that grow in a vertical structural way. This growth pattern makes them very ideal for narrow spaces. The leaves of snake plant colors can be green/silver, green/black, green/yellow, and there is horizontal patterning, also variegated leaves.
If you notice that your snake plant‘s pot bulging uncomfortably or the foliage seem to be suffering, it may be time to think about repotting snake plant. Actually, it is not a difficult task. Depending on the age of your snake plant, you are able to divide or repot it at the same time, thus making a second plant.

How to Repot Snake Plant?
Here are the supplies you will need to repot your snake plant:
- ProMix Cactus Potting Soil
- New Pot that bigger than your existing pot
- Plastic or newspaper to protect your work surface
- The gloves
- Sterile knife or box cutter
For note: We suggest you to use the ProMix Cactus soil because it already has the right amount of sand in the bagged soil to promote good drainage. Another suggestion is to use a container that has drainage in it.
Here are some steps to repot your snake plant:
Step 1

At the first step, you have to collect all supplies and lay down plastic or newspaper to protect your work surface. After you get start doing this, you have to take your snake plant to repot. Please hold the leaves gently with one hand, and with the other tug at the plastic or ceramic pot. If it does not slide off, simply you are able to squeeze gently all around the pot to loosen the soil and roots and then pull the pot off. If it really stuck, try to use your box cutter to cut the plastic pot carefully. If you are repotting from a ceramic container, you will need to use a chopstick or pencil to loosen to soil around the perimeter, doing your best to not damage the roots. Next, pull the plant free.
Step 2
Using your fingers, you have to remove most of the soil away from the root ball to expose the root system. This is very important if you are going to divide your plant so you are able to see the pups. If you are only repotting, this will give you a chance to remove any old mushy roots. After you have cleared away the soil, you are going to look for a L or J shaped protrusion from the main plant. This rhizome is what we call the pup. It is what we will cut away from the main plant.
Step 3
Now, you are able to isolate a pup that has delicate roots already appearing on the rhizome. Those pups are likely to have the best success rate. Please take your sterile knife or box cutter and then slice the rhizome properly to preserve as many small roots on the pups half. Please work your way around the plant and do not forget to thin out some more pups. You are able to do about 1/3 of the plants total mass to not shock the plants.
Step 4
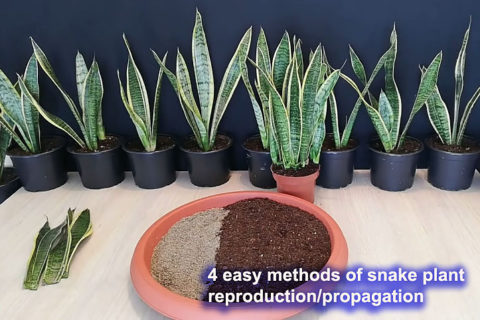
The next step is to prepare your new pots with the ProMix Cactus soil, we suggest you to leaving about an inch from the top. After that, you have to take the main plant and repot it into its old container or into the new container you have selected. Please be sure not to mound soil too far up the leaves. Attempt to match the old soil level to prevent rot. Next, you have to press the soil down gently to secure the plant in the soil. Once it starts to lean, you will be able to support it with a bamboo stake until the roots reestablish. Take your pups right now and you are able to repot them individually or cluster them together in a bigger pot for a more full look. Similar with the main plant, you do not plant these pups too deeply, only enough to secure them into the soil with a firm press.
Step 5
The last step, you have to water the plants to moisten the soil in the pots. Then, place them in a medium light location (meaning not direct sun, or indirect sun near a window). However, a few feet away from indirect sunlight will work like that from a North facing window. It is because you want the roots to grow, and high light can stress the plant out as it recovers.
The best time to repot Snake Plant
According to the research, the best time to repot the snake plant is in the late winter or very early spring. This will put the transplant during the time of year where the plant is not in active growth mode. However if needed, it is able to be performed at any time of year. You are going to know it is time when the roots start creeping through the drainage holes of your pot. Probably, plastic pots will start to bulge a bit. When watering, it will seem as though all the water is coming straight through, and none staying in the soil.
You are able to hold the base of the plant to support it, and gently turn it over. Please take a look whether you see roots spreading out the bottom of the pot. Does the snake plant appear to be stuck, or does it slide out with ease? If it is stuck, it is definitely time to get it in something a bit more roomy. While the snake plant likes to be a bit rootbound, it does not do well when all that’s left in the pot are the roots. Thus, when it reaches that point, or if one of the other signs appear, it is the best time to repot your snake plant. Also, you are able to propagate your snake plants if you’d like through division while you are repotting.

Leave a Reply